Arduino Core OTA Partition Size and Gzipping
When using the ESP Arduino Core library to flash updates for ESP8266 devices you must ensure you have a properly sized OTA partition. This article covers what the OTA partition is, how to set the size of the partition in the Arduino IDE, and how to gzip firmware binaries to ensure your updates will fit on that partition.
What is the OTA Partition?
The flash memory on your ESP8266 device is partitioned similar to how you’d partition a hard drive on a computer. One partition holds your running application and the OTA partition is available to store a single firmware update. There are additional config partitions as well but those are beyond the scope of this article. Depending on your module you’ll likely have 2M or 4M of total flash memory. This memory is then sub-divided into the partitions mentioned. It looks something like this (source):
|--------------|-------|---------------|--|--|--|--|--|
^              ^       ^               ^     ^
Sketch    OTA update   File system   EEPROM  WiFi config (SDK)
Depending on your application you may also have a file system partition as shown above. Remember, the OTA partition is only necessary if you want to support OTA firmware updates. If you don’t, you can reclaim the space and extend the size of your main application partition.
Choose an OTA Partition Size
If you want to enable OTA firmware updates for your device you must have an OTA partition. The Arduino Core library downloads your firmware into that OTA partition. The bootloader then programs the firmware into the main application partition. Selecting the appropriate size for this partition isn’t too difficult but requires knowing the answer to a few questions:
- Do you need file system storage? If so, how much?
- How much flash space does your compiled firmware need?
Once you have the answers to these questions you can select the proper OTA partition size that accommodates your app and file system needs. It must be large enough to hold at least a compressed version of your firmware (more on this below) but should also have some room to accept larger binaries as you add features and your firmware grows.
Set the Partition Size in the Arduino IDE
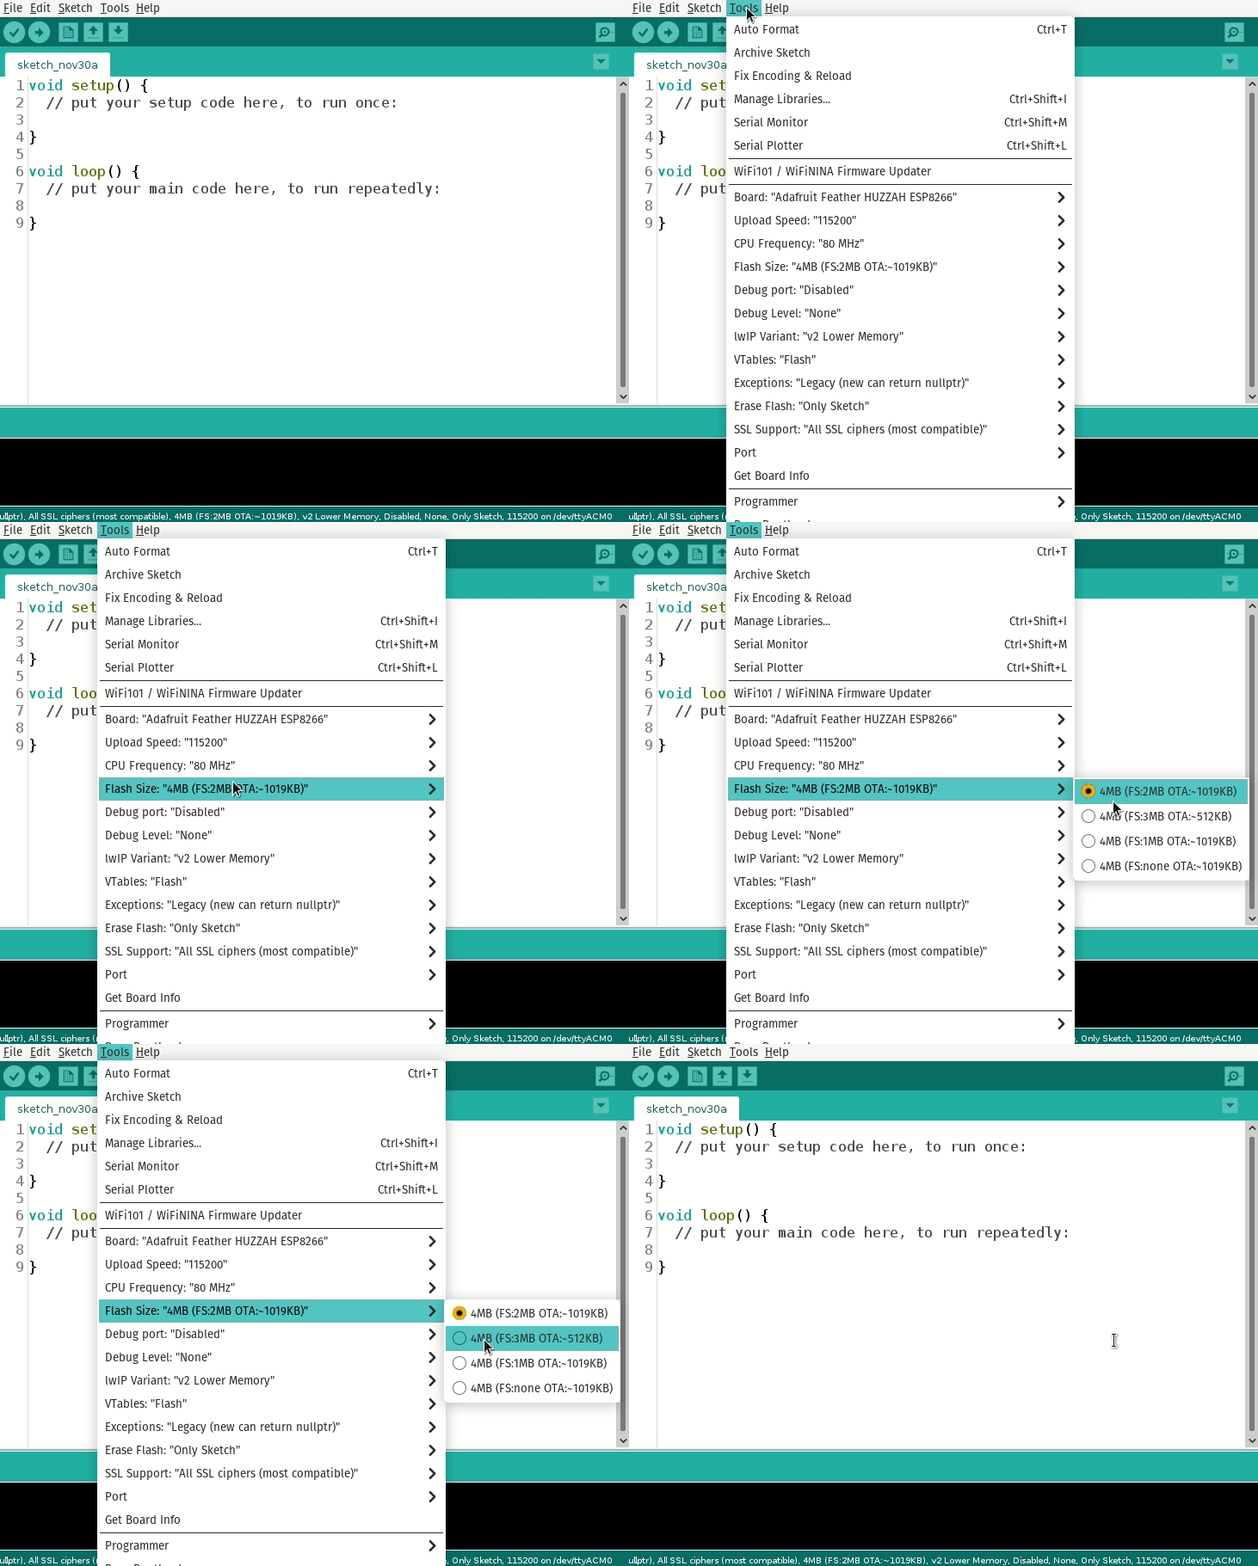
Setting the partition size in the Arduino IDE is very simple. Once you’ve selected the appropriate board for your device the Tools menu will have an additional option like Flash Size or Partition Scheme. Select the layout that has the OTA partition size you need.

Using Gzip to Compress an Update
The ESP8266 Arduino Core library utilizes the eboot bootloader which incorporates a Gzip decompressor. Therefore, if the binary stored in the OTA partition is compressed using Gzip it will know how to decompress it before writing the firmware to the application partition. You can read more about this capability in the official Arduino Core docs.
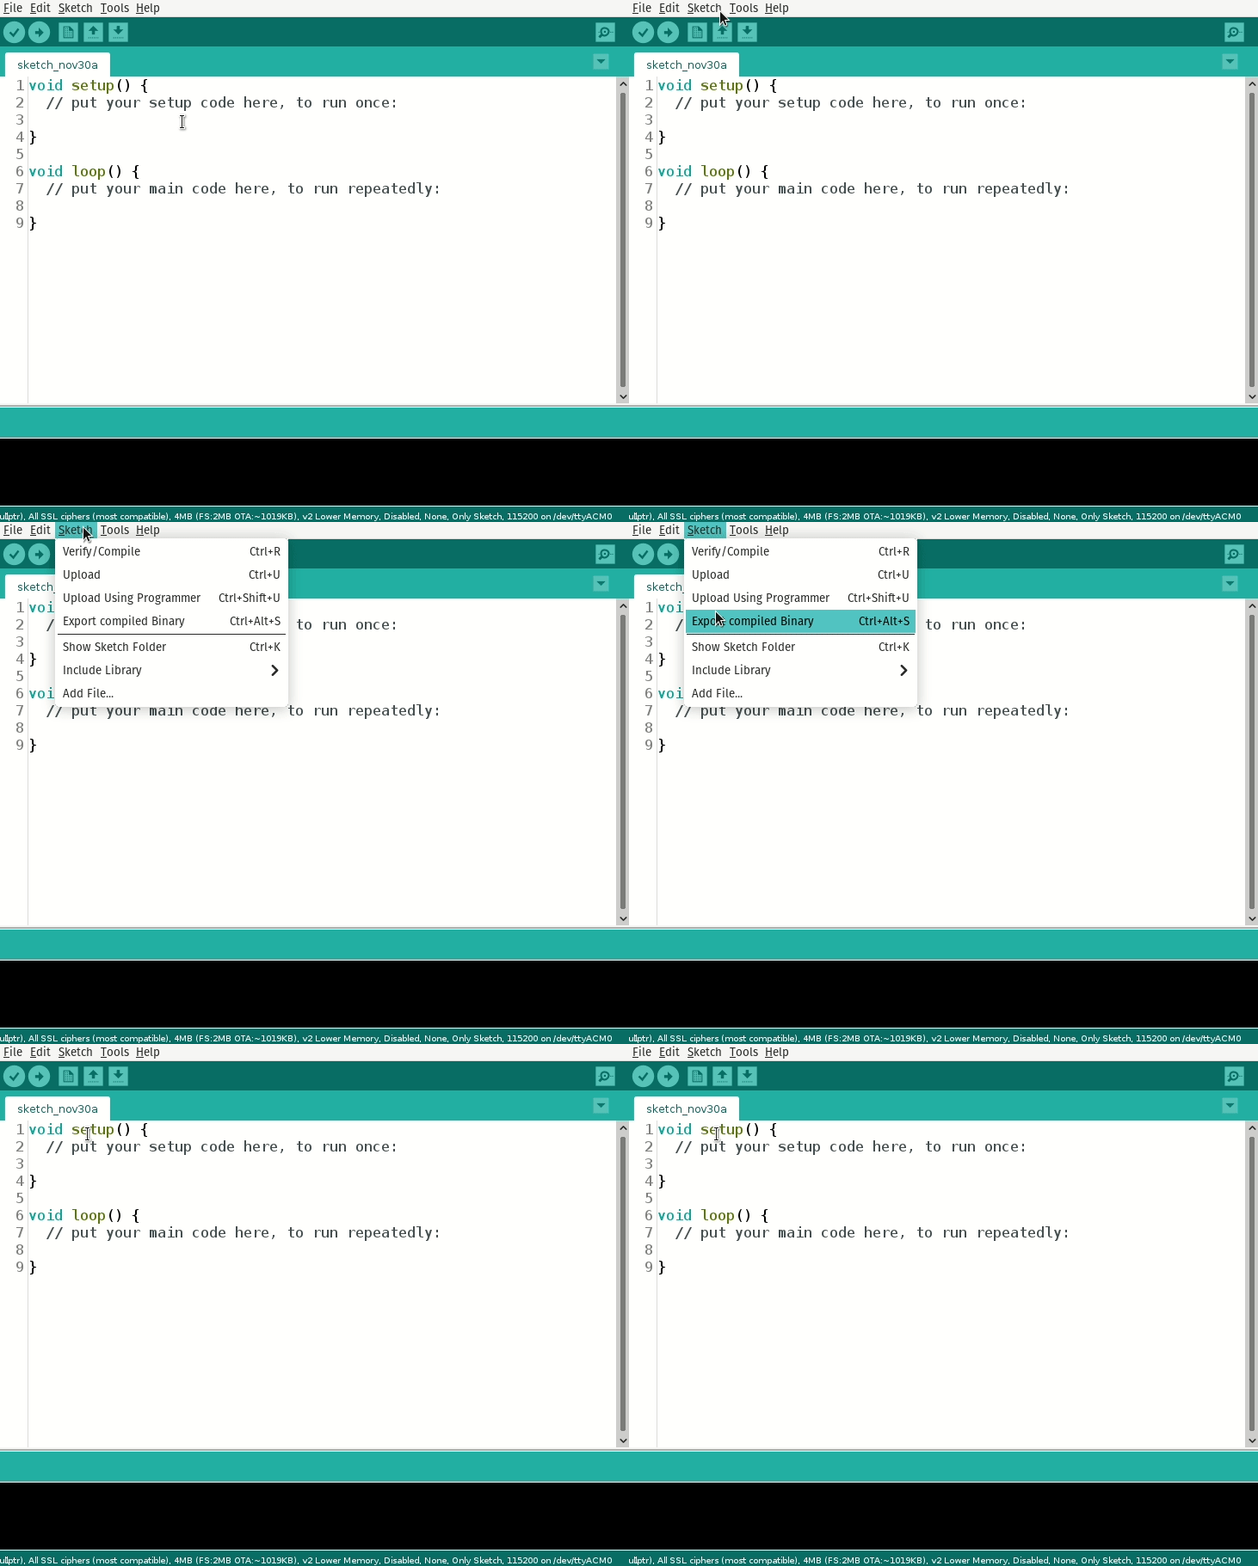
This feature helps ensure you can fit firmware upgrades into the available space on the OTA partition. Even if you don’t need the space it’s still a good idea to compress your binary. This reduces the amount of data transferred to the device during an update which directly affects data usage and power consumption. To compress a firmware you must first export it from the Arduino IDE using the Sketch->Export compiled Binary menu option.

This will export your binary into the same folder which contains your sketch source code.
- Open a terminal window
cdto the directory containing your exported binary- Run the following command
gzip -9 [your exported binary] - Your compressed binary will be in the same folder as your sketch source code
The -9 option to the gzip command specifies the compression level. It is the recommended level from the Arduino Core docs.
